
By TNFP’s Growing Together Market Manager, Sally Rausch

Lal Subba, Growing Together farmer, mixing potting soil in the Nashville State Community College greenhouse.
It’s officially spring! And like many vegetable growers, the Growing Together farmers are in the flurry of activity that comes with warmer weather and the beginning of a new growing season. These days you’ll find the farmers at their garden in South Nashville getting their plans and seeds in order, tilling their beds, and planting cool weather crops. But you’ll also find these farmers starting seeds in the greenhouse on Nashville State’s campus, which they generously share with The Nashville Food Project.
Starting seeds indoors is a primary component of spring farming work (and is utilized throughout the growing season as well). This allows farmers to get a head start on the growing season, cut costs (seeds are much cheaper than purchasing seedlings), and maintain control over the health of their seedlings.
Since gardeners and farmers growing in many spaces can utilize and benefit from starting seeds indoors, we thought we’d share some of the tips and tricks the Growing Together farmers and staff of The Nashville Food Project use to grow the healthiest transplants!

Materials You Need
Potting Mix: You can find pre-made potting mix at most local hardware or garden stores. When the Growing Together farmers purchase their own potting soil, they look for brands that are organic to eliminate any chemicals that might have been added. You can also make your own potting soil! There are many recipes out there, but you can find the recipe The Nashville Food Project uses at the end of this post.
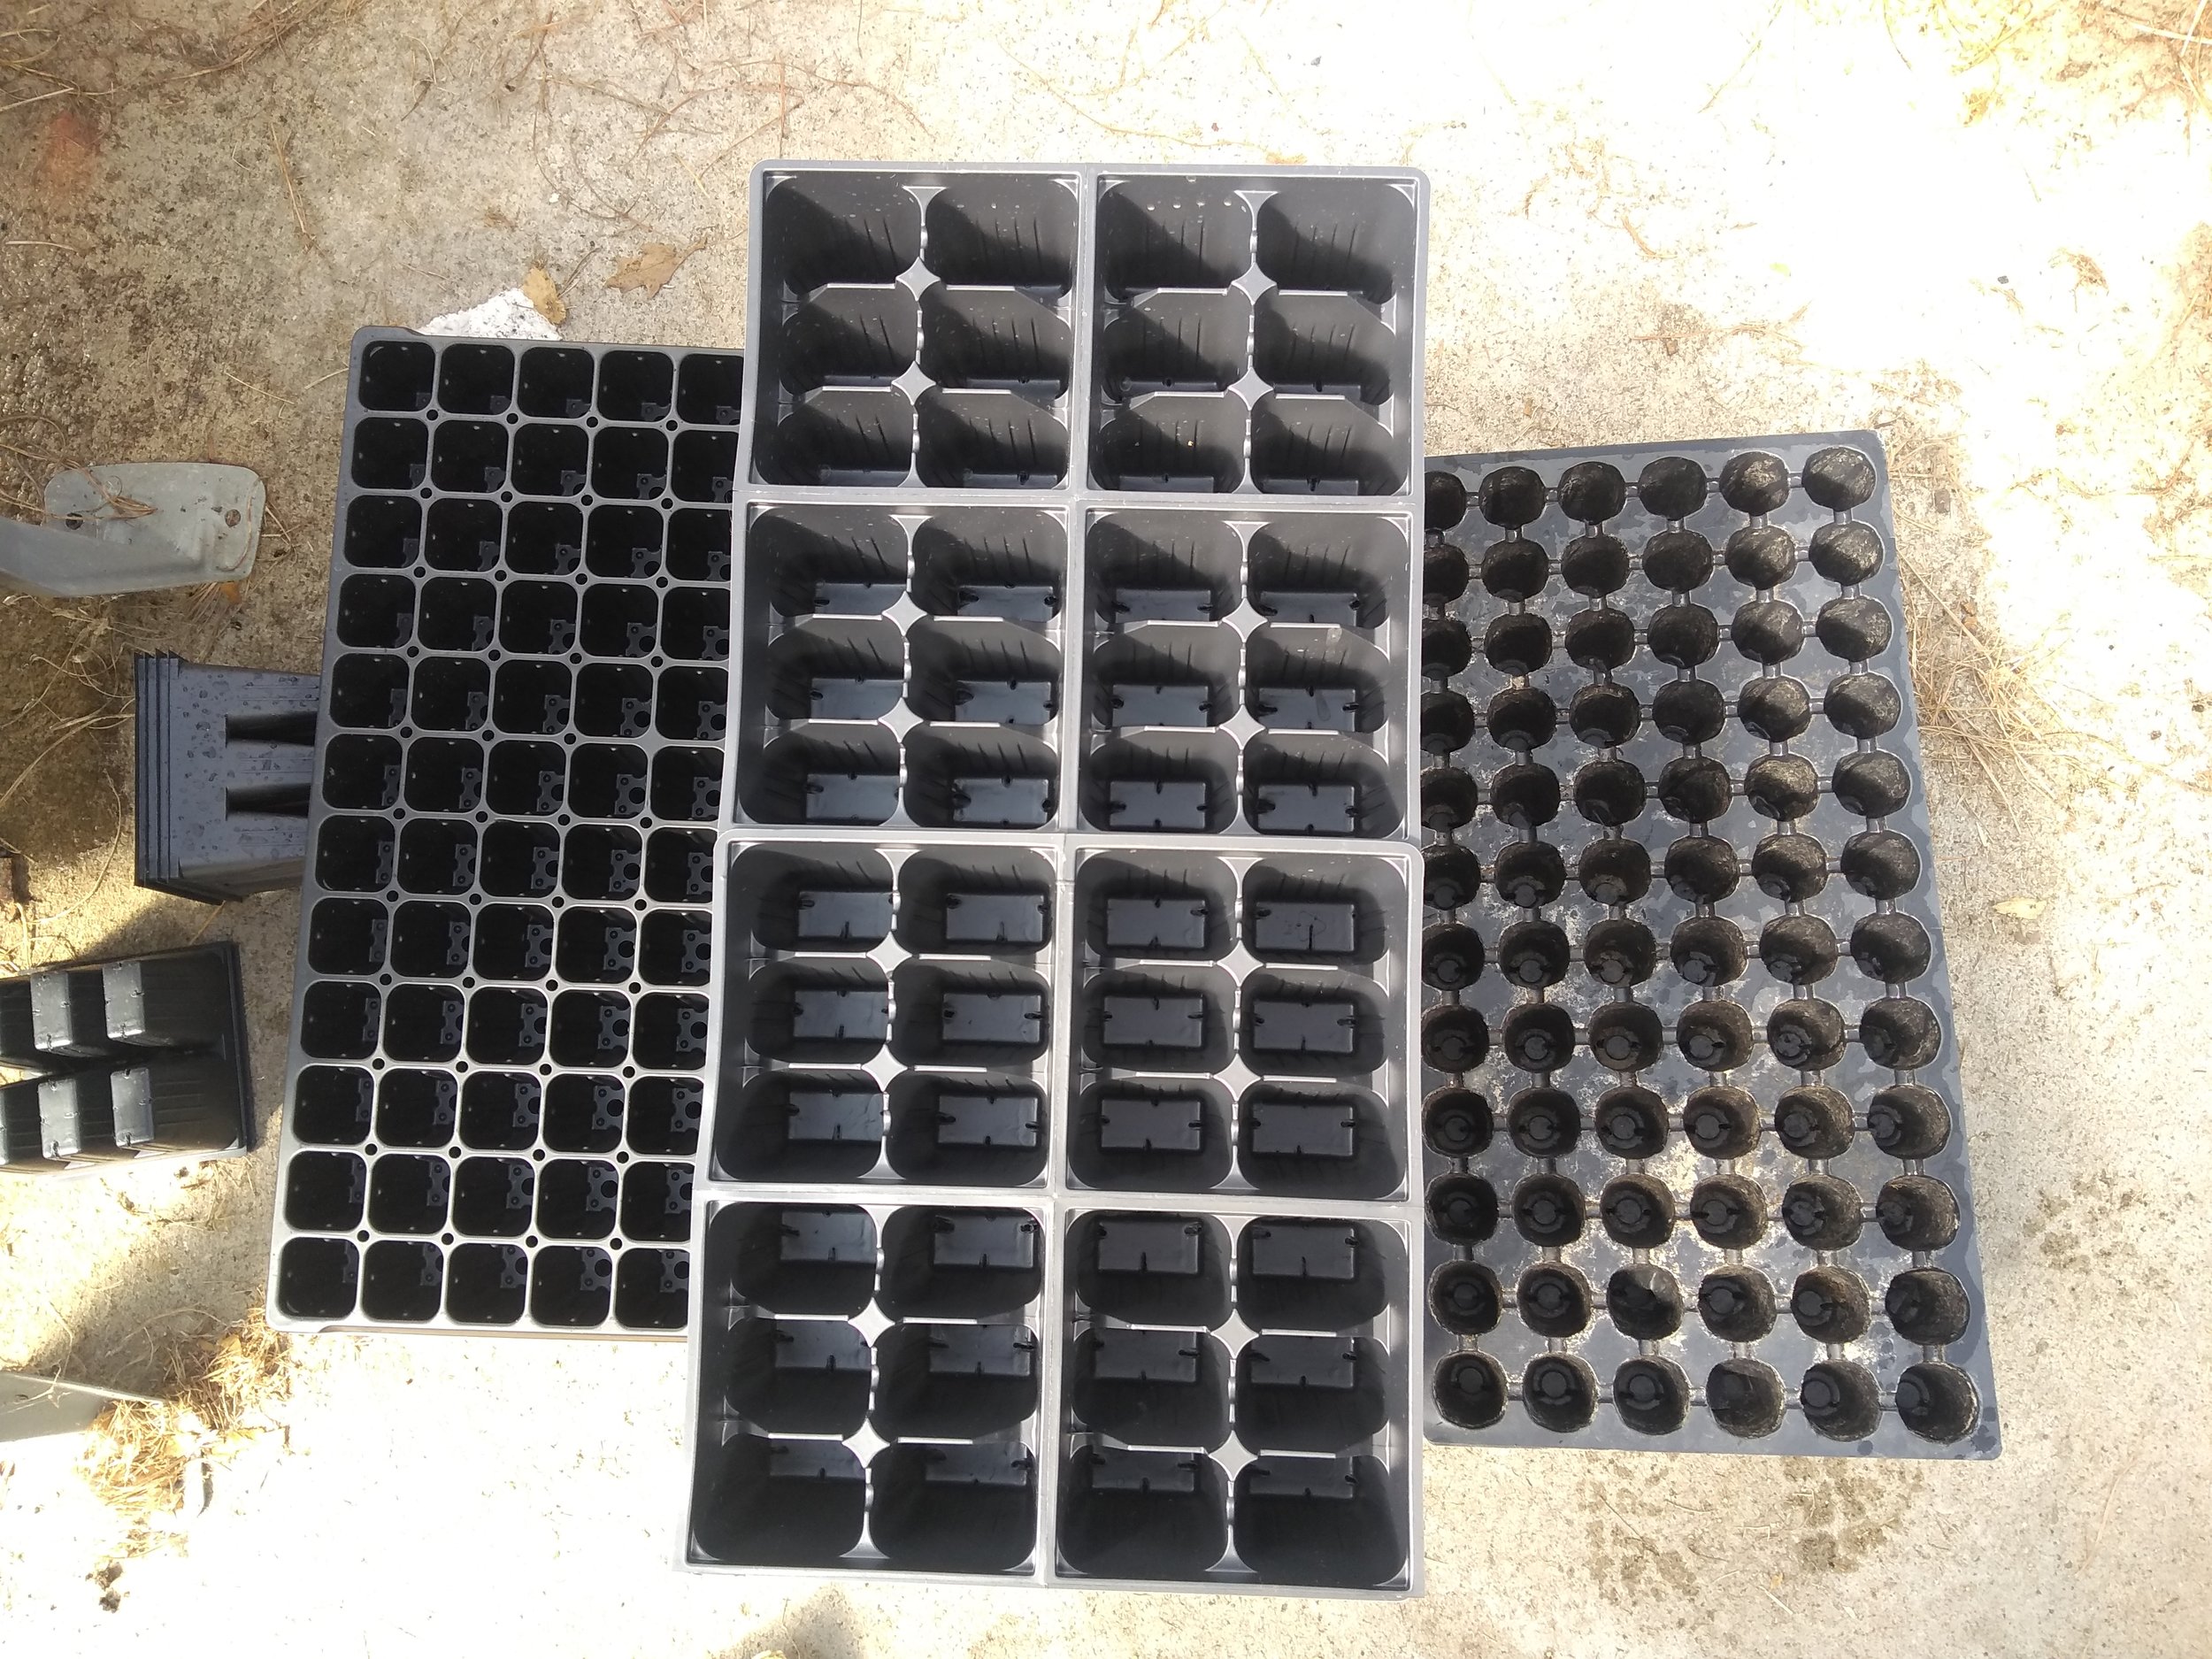
Seed Trays: Growing Together utilizes various types of trays depending on what they are planting, but it’s really up to you and your preferences. You can find seed trays at your local hardware store, or you can get creative and use recycled items like egg cartons, eggshells (be sure to carefully crack the eggs, so that most of the shell is retained like a small bowl), homemade newspaper boxes, K-cups from your morning coffee, and so much more. Click here for an article with even more ideas! Just make sure your medium has a drainage hole of some sort.

Seeds: Growing Together purchases their seeds from several seed companies, but many of the farmers also save their own seed from year to year! Here’s a great resource for learning more about the best tips for saving your own seeds.
Getting dirty!
1. Adding water: We often transfer the potting mix from our large bag into a smaller container, so that we can mix in water more easily. A five-gallon bucket works great when seeding smaller amounts. Begin adding water and mixing it into the soil. You want the soil wet enough that it clumps together when you squeeze a handful, but not so wet that it drips water when you squeeze it. Adding water before you put the soil in the trays helps the soil to absorb water more evenly after you plant your seeds. Beginning with dry soil, you run the risk of flooding the tray and disrupting your seeds when you water them.

After adding some water, we begin filling the seed trays.
2. Filling trays: Once your soil is ready, you can begin to transfer it into your trays. A great tip is to fill the entire tray and then go back through and press down gently with two fingers. This will lightly compact the soil, so you can then go back through and top off the tray with potting. This ensures that the seeds you plant will have the best growing environment to successfully germinate and begin growing roots.
3. Now it’s time to plant! Some tips to follow when you’re planting:
Depth matters! This is listed on the seed packet, or a good rule of thumb is to plant seeds 2-3 times as deep as the diameter of the seed.
Plant extra seeds, because sometimes every seed doesn’t germinate. You can always thin out extras later.
After you plant, place your seed trays in a warm location. Seeds germinate best at different temperatures, so it’s helpful to use the seed packet to find this information. For seeds that prefer warm soil to germinate (like tomatoes and peppers), we often put the trays on heating mats in our greenhouse. There are some DIY heating mat options out there, although this step isn’t absolutely necessary.
Once seeds germinate, make sure they are in a very sunny location. Seedlings will get leggy quickly if they are reaching too hard to find the light they need.
Water regularly to maintain soil moisture. You never want the soil to dry out, but balance is key. Add too much water and you run the risk of either your seeds or roots rotting.
Label your seeds! No matter how much you think you’ll remember, it’s always better to label what you’ve planted and when.

Remember to label!
When to start seeds
When to plant your seeds indoors varies greatly. Location, first and last frost dates, and crop are all things that impact planting dates. We love this resource that creates a planting calendar for your specific location with information about each crop’s best planting dates.
Ready to get started? Make your own potting soil at home using TNFP’s recipe below! You can also purchase produce directly from Growing Together farmers — find out where here, including information on purchasing a Fall CSA share (hurry, before it sells out!).
TNFP Homemade Potting Mix
Measure with a 5 gallon bucket:
3 buckets peat moss or coir
½ cup lime (to adjust pH)
Mix well.
Add:
2 buckets coarse sand (for drainage)
2 cups feather meal or blood meal (for nitrogen)
2 cups greensand (trace minerals)
Mix well.
Add:
1 bucket sifted soil (adds healthy bacteria from the garden)
2 buckets sifted compost (good organic matter)
Mix well.
